
Before & After: Our 1960s Bathroom Refresh on a Budget
The Reality of Our First Home
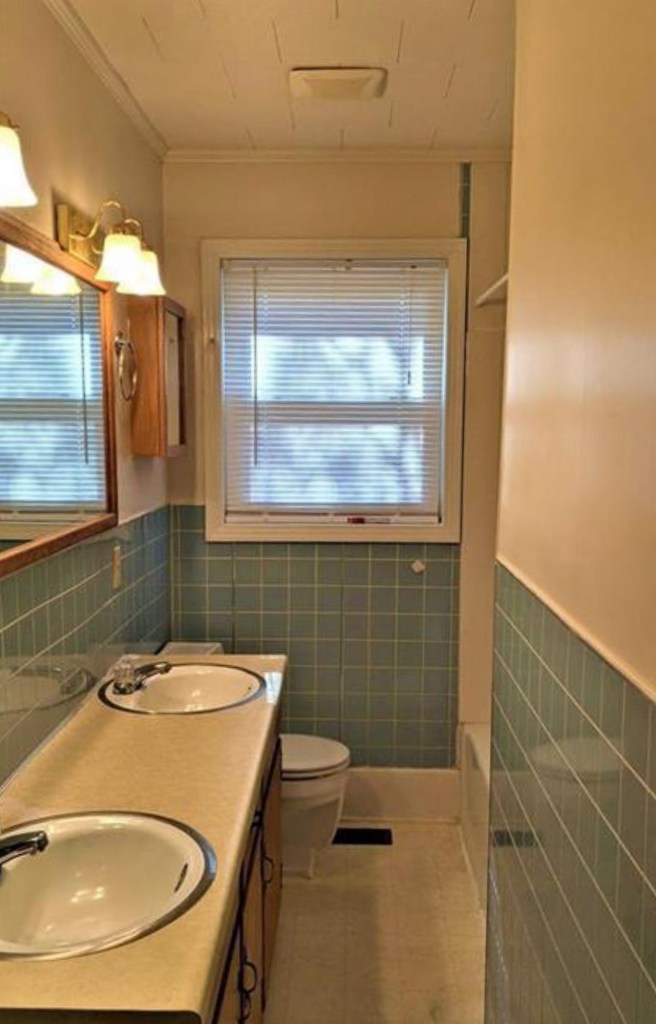
When we first moved into our home, we knew right away… this bathroom needed some love.
It’s our main bathroom and also one of the smallest bathrooms we ever had 😂. Being first-time homeowners, we just didn’t have the budget to completely gut and remodel everything.
But honestly? That ended up being such a blessing in disguise.
Instead of tearing everything out, I decided to get creative and work with what we already had—and I’m so glad I did.
This post may contain affiliate links, which means I may earn a small commission if you choose to purchase through my links—at no extra cost to you. Read my Affiliate Disclosure for more information.
Working With What We Had
The biggest challenge in this space was the blue plastic tile.
I’m not going to lie… it was an eyesore to me at first 😅
But instead of ripping it out (which would’ve been expensive and messy), I decided to try something different.
👉 I sanded the tile
👉 Primed it
👉 Painted it
And the transformation was everything.

I used Accessible Beige by Sherwin Williams for the tile, and it completely warmed up the space.
For the upper walls, I went with Alabaster White (my FAVORITE white 🤍). It’s soft, warm, and just makes everything feel clean and cozy without being too stark.
Updating the Cabinets & Mirror

One of my favorite parts of this makeover is the cabinets.
They’re the original pine cabinets from the 1960s, and instead of replacing them, I decided to lean into that vintage feel.
I:
- 👉 Sanded them down
- 👉 Used Minwax Dark Walnut stain
- 👉 Let the natural wood shine through
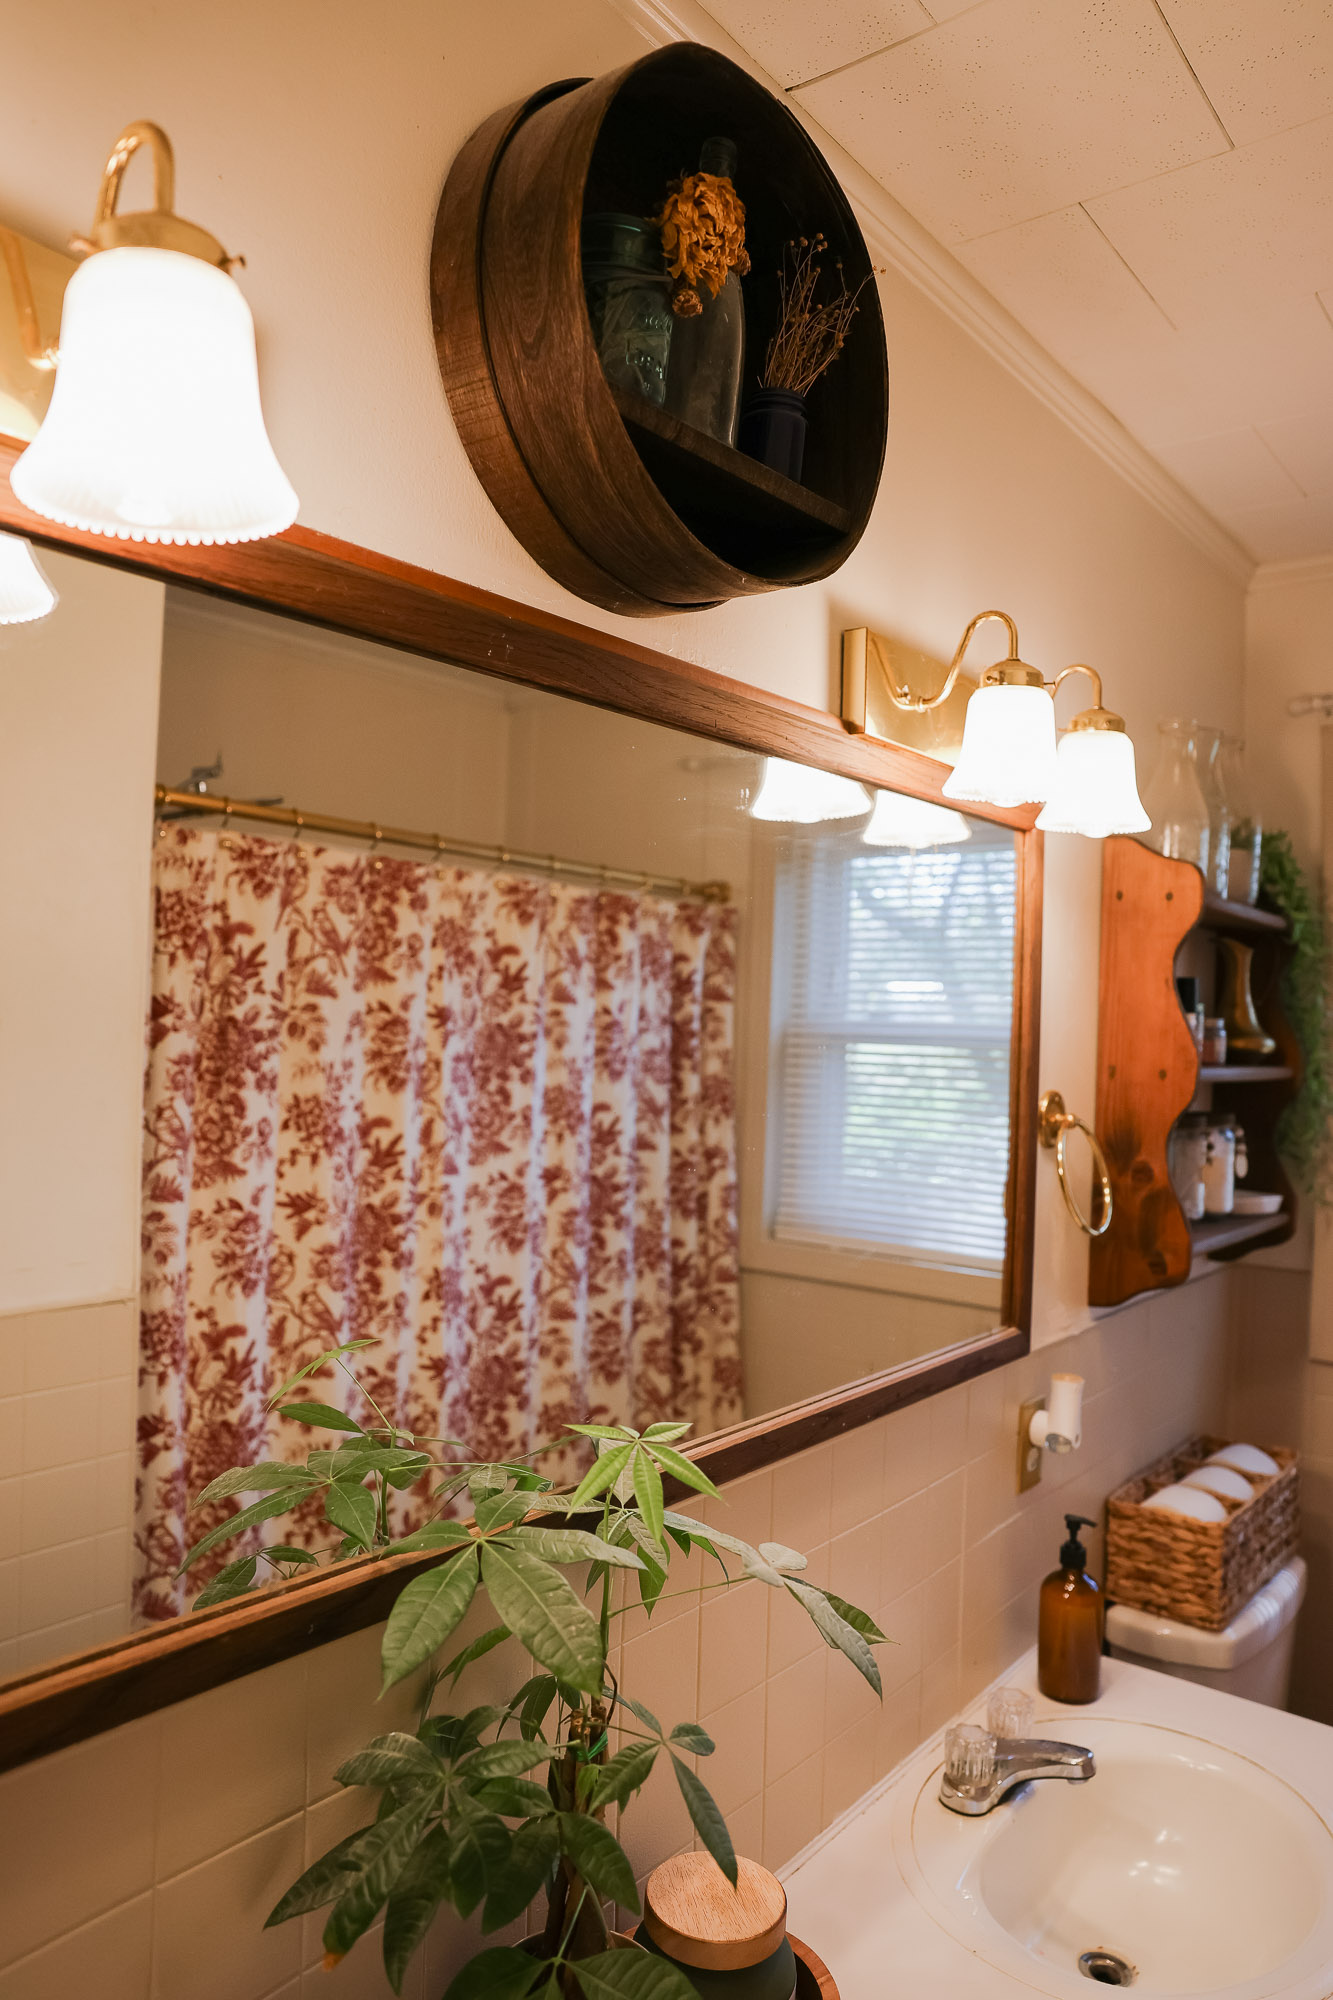
I also took that same stain and used it on the wood frame around the mirror to tie everything together.
It gave the whole space that warm, rustic, cozy vibe that I love so much.
The Countertop Makeover (Budget Win!)

The countertop was originally… a 1960s yellow 😬
Definitely not my favorite.
So instead of replacing it, I used appliance epoxy to paint it—and let me tell you… BEST decision.
It’s been about a year since I did this, and it has held up SO well.
If you’re looking for a budget-friendly way to update countertops, I highly recommend this option.
👉 This is one of those small changes that made a HUGE difference.
Adding Cozy, Vintage Decor
Once all the big updates were done, it was time for my favorite part… styling 🤎
I kept everything simple, cozy, and a little vintage-inspired:
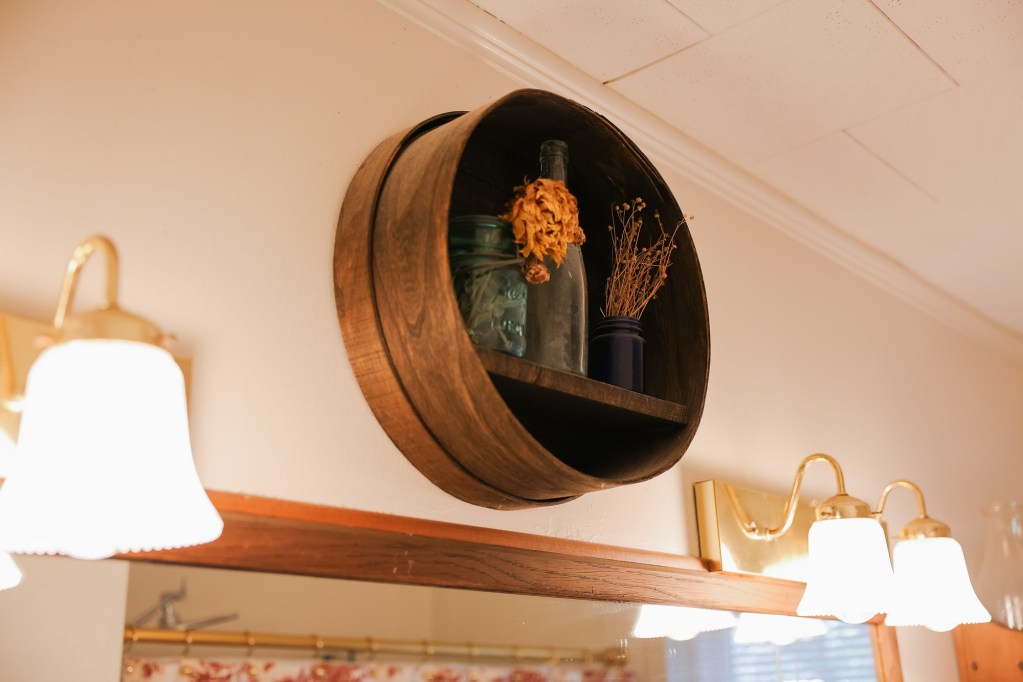
- – An old cheese box that I stained
- – Vintage bottles
- – Dried florals
- – A plant to bring life into the space
The shelf above the toilet was actually a Goodwill find, and I love how it adds both function and character.
Other little touches:
- – Shower curtain from TJ Maxx
- – Bathroom rug from Dollar General
Nothing fancy… just intentional.
The After
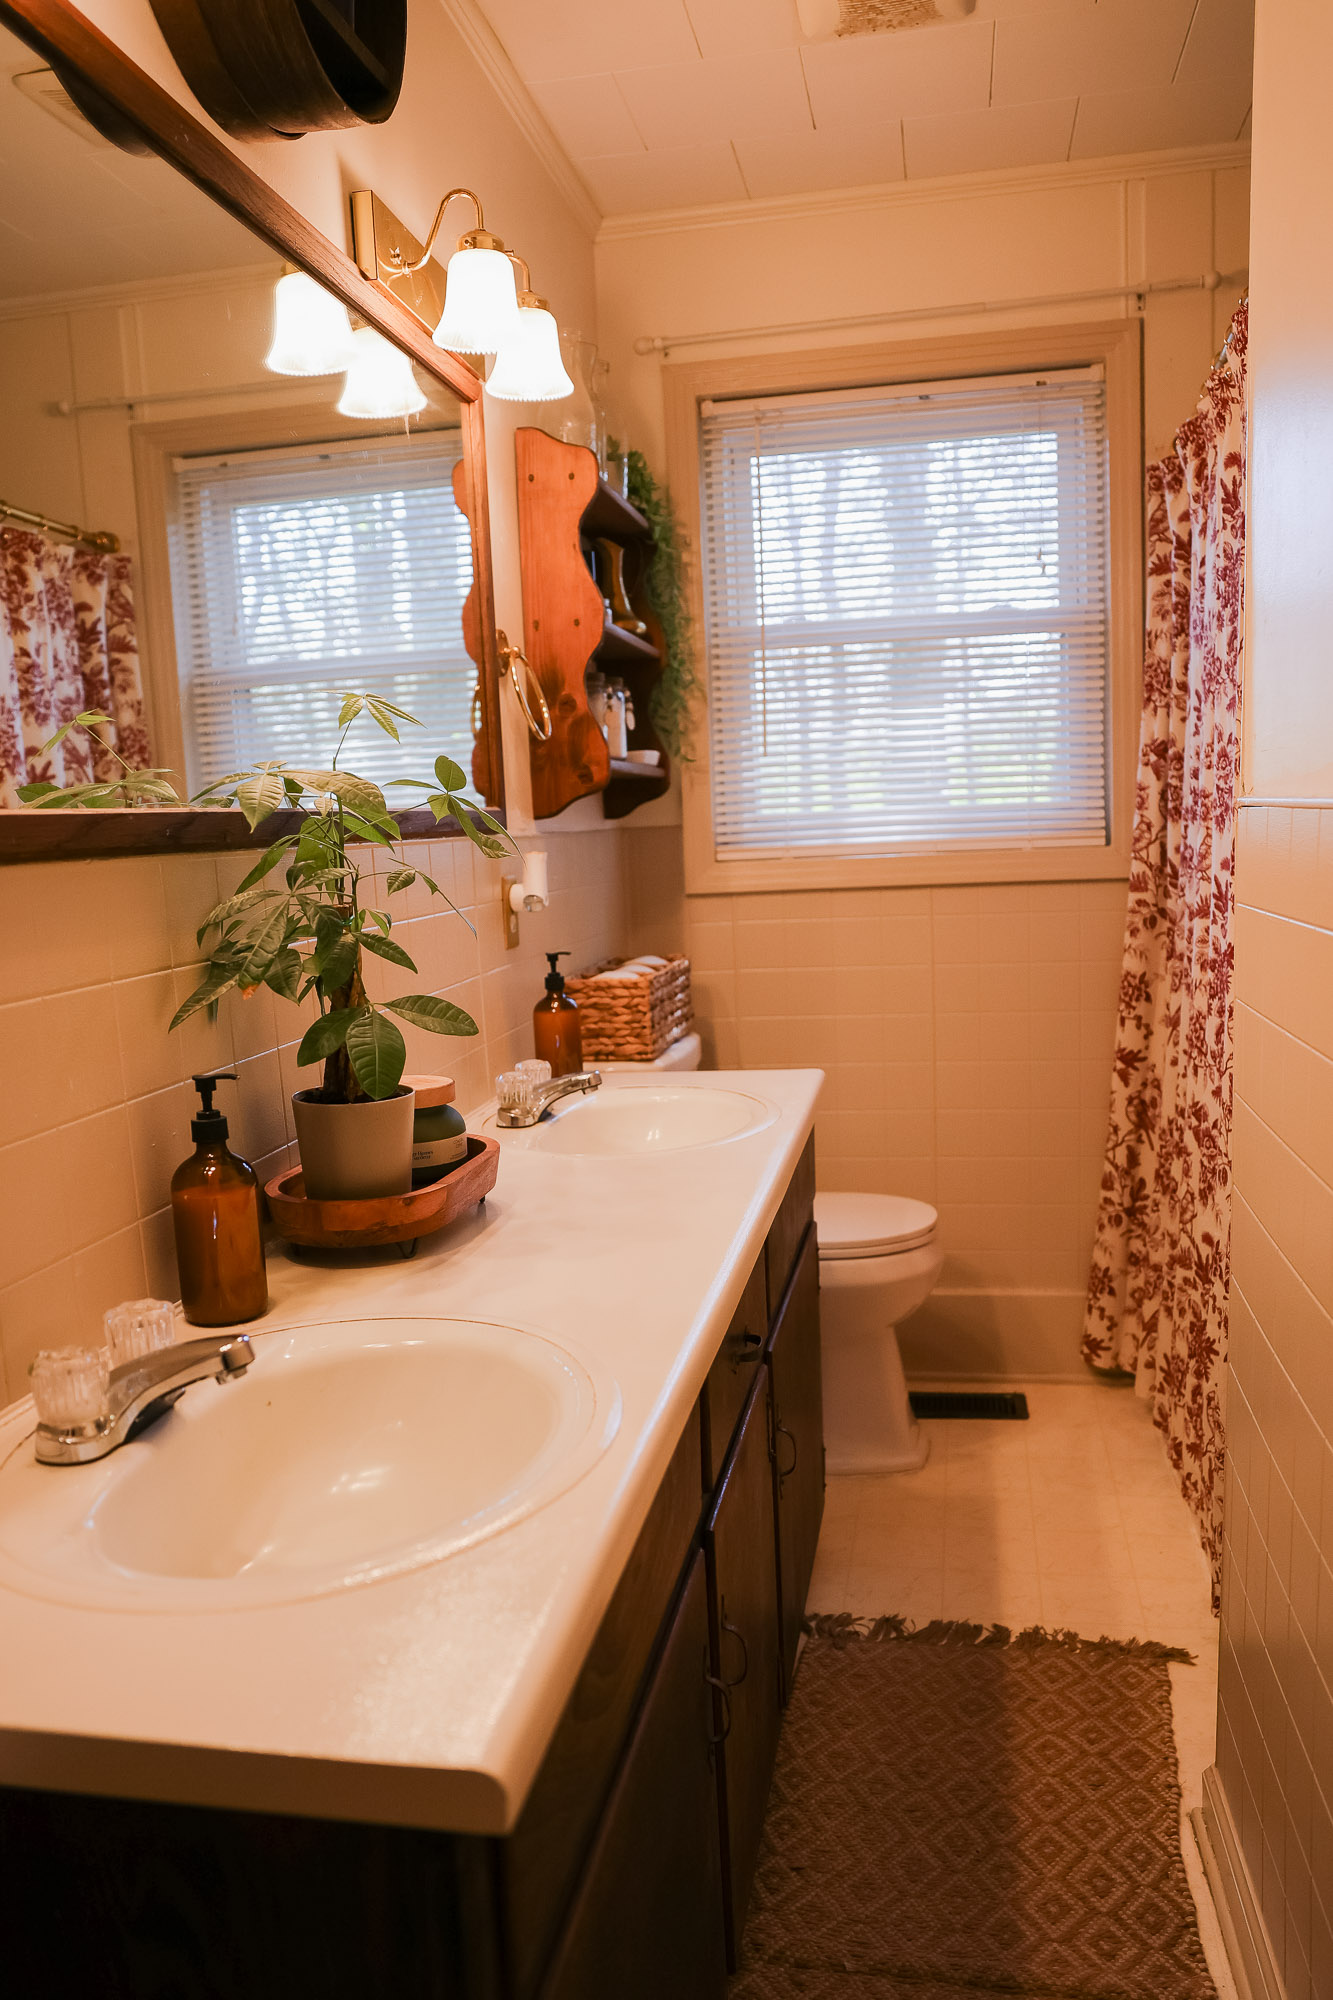

This space feels completely different now.
It’s warm.
It’s cozy.
And most importantly—it feels like us.
And the best part? We did it all on a budget, without tearing everything out.
What I Learned From This Makeover
If there’s one thing I’ve learned as a homeowner, it’s this:
👉 You don’t have to have a huge budget to create a home you love.
Sometimes it just takes a little creativity, a little vision, and being willing to work with what you already have.
Shop This Project (Affiliate Links)


(I’ll have these linked here for you!)
Come Along for More 🤎
This is just one of many updates we’ve done in our home, and I have so many more to share with you.
If you love cozy, budget-friendly home projects like this, make sure to subscribe to my newsletter so you don’t miss anything!


Looks awesome. We’ll done!
Thank You Jenni! 🥰