How to Paint Wood Paneling (Before & After + Step-by-Step DIY Guide)
Do you have wood paneling in your home, but aren’t quite sure how to make it look better?
Maybe you’ve thought about painting it, but weren’t sure how to even start.
I’ve got good news, friend—with a little DIY, you can completely brighten up your space in no time. And the best part? This is a budget-friendly update that doesn’t require ripping anything out.
This post may contain affiliate links, which means I may earn a small commission if you choose to purchase through my links—at no extra cost to you. Read my Affiliate Disclosure for more information.
Why We Chose to Paint Our Wood Paneling

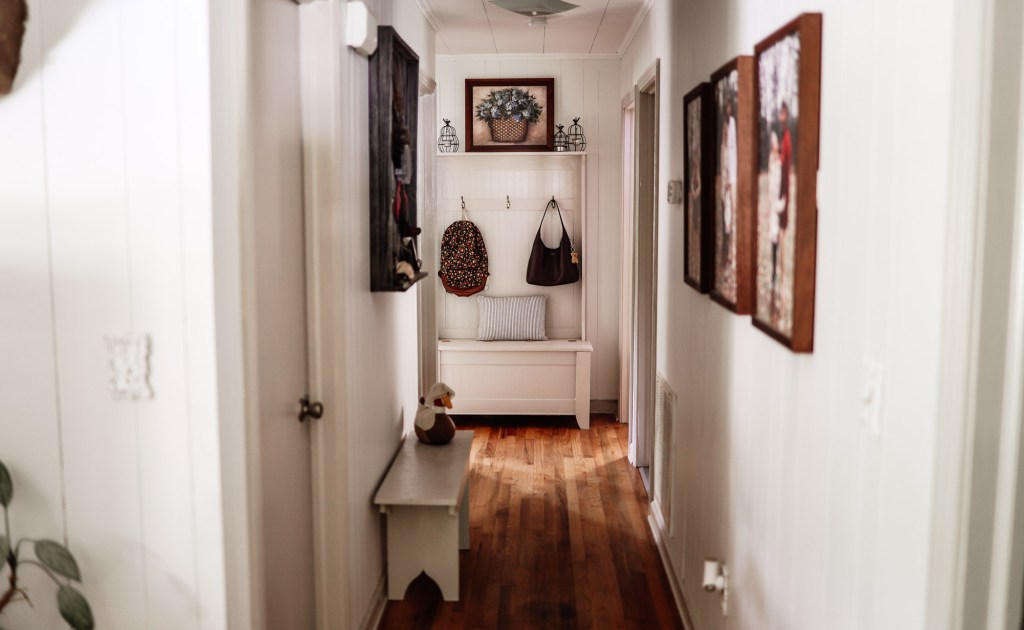
When we first moved into our 1960s home, we immediately knew one thing, our space needed to feel brighter.
The wood paneling made everything feel dark and dated, especially in our hallway. Replacing it just wasn’t in the budget at the time, so painting it became one of the very first projects on our to-do list.
And honestly? It made a bigger difference than I ever expected.
🛠️ Step 1: Sanding Your Wood Paneling
Because we had so much paneling, this part was very time-consuming, but it’s also one of the most important steps.
Most wood paneling has a slick, almost shiny finish, so if you don’t sand it down, your paint won’t stick properly.
We used:
- 120-grit sandpaper
- An inexpensive orbital sander
This helped rough up the surface just enough for the primer to really grab onto.
Just a heads up—this process is messy.
Like… dust everywhere.
Here’s what helped us:
- Opening doors and windows for ventilation
- Using large plastic drop cloths to cover furniture, TV, etc.
- Taking breaks (because it will wear you out)
Once we finished sanding:
- We vacuumed up as much dust as possible
- Then used a damp mop/cloth to wipe down the walls and floors
Make sure everything is completely dry before moving on.
🧱 Step 2: Priming Is SO Important
If there’s one step you don’t want to rush, it’s this one.
The primer we used for this project was Valspar Interior/Exterior Bonding Primer, and we’ve used it on multiple projects throughout our home (even our countertops!).

For our paneling:
- We applied 2 full coats of primer on the walls
Our trim was darker than the paneling, so:
- We did 3 coats of primer on the trim
This made a huge difference in coverage and helped block out the darker tones underneath.
Make sure to let each coat dry before applying the next one. It takes time, but it’s worth it.
🎨 Step 3: The Fun Part — Painting!

This is where everything finally starts coming together.
What we used:
- Purdy Premium 6-piece paint kit
- 3” Purdy angled brush
- Painter’s tape
- Extension pole (not necessary, but super helpful)
Originally, we chose Agreeable Gray for our walls.
It’s such a beautiful neutral and worked really well with our home decor at the time.
For painting:
- We applied 2 coats of paint on the paneling
- For the trim, we used a semi-gloss white and did 2–3 coats depending on coverage
Honestly, when it comes to painting paneling, you really can’t go wrong with an extra coat if needed.
🔄 Real-Life Update: We Painted It Again
Okay… real life moment.
After living with Agreeable Gray for a while, I started wanting something even brighter.
So yes… we painted it all over again 😂
This time, we went with Alabaster White.
For the doors and trim we used Accessible Beige.
And I’m not even kidding—it completely changed the feel of our home.

It made everything:
- Feel more open
- Look cleaner
- Reflect light so much better
If you’re debating between a darker neutral and a soft white, I will say from experience… I personally love the brighter look now.
🏡 Step 4: Enjoy Your Painted Wood Paneling
Once everything is dry and cured, you can finally step back and enjoy your work.
This is one of those DIY projects that:
- Makes a HUGE visual impact
- Costs way less than replacing paneling
- Gives your home a fresh, updated feel
And the best part? You did it yourself.

📝 Quick Recap
Prep:
- Sand paneling (120 grit)
- Clean thoroughly
- 2 coats of primer (3 for dark trim)
Paint:
- 2 coats on walls
- 2–3 coats on trim
Let everything dry completely before decorating.
If you’ve been thinking about painting your wood paneling, this is your sign to go for it.
And if you have any questions, feel free to leave a comment—I’m always happy to help 🤍
✨ Before and After
🛍️ Have you seen my shop? 😍
Shop all of my favorite home decor and MUCH more!